Installation Instructions
Note: These installation instructions are only to register the COM component. No installation is required to reference it in a .Net program.
- Verify that .Net Framework 4.0 (full install) has been installed.
- Extract the contents of the zip file to a temporary folder. If you use the standard Windows Extract All function, you must unblock the ZIP file before you extract it. Follow the instructions in this article to unblock a ZIP file: https://aellius.zendesk.com/entries/24871103-Unblocking-ZIP-Files
- For 32-bit computers, click install.cmd and choose "Run as administrator". For 64-bit computers, click install64.cmd and choose "Run as administrator". If the client is a 32-bit process running on a 64-bit computer, use install.cmd.
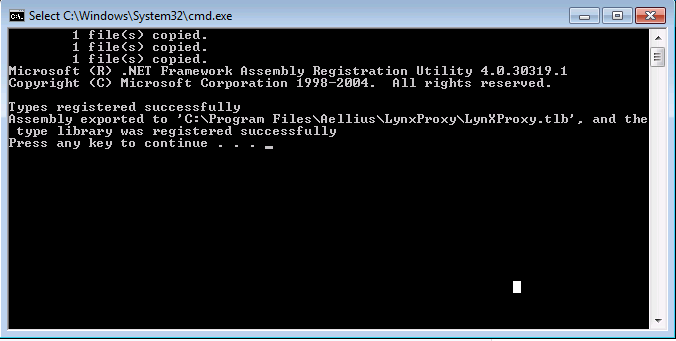
- Verify that there are no errors in the command console. A successful install should look like this (see screenshot below)
Testing the COM component
- Open a command window. If the client is a 32-bit process on a 64-bit computer, you must start a 32-bit command window. Use %windir%\SysWoW64\cmd.exe to start a 32-bit command window.
- Type cscript proxytest.js. If the component is registered properly, you will see a success message. If not, an error will be displayed.

TLS 1.1/1.2 Compatibility
Builds that are on/later than December 27, 2018 have an option to specify TLS compatibility.
0 Comments